(→Night Battle Special Attacks: Updated based on wikiwiki and other (in-line) sources) Tag: rte-source |
Tag: rte-wysiwyg |
||
| Line 196: | Line 196: | ||
===Support Expedition=== |
===Support Expedition=== |
||
*In [[World 5]] and Event Maps, the Sortie fleet can receive a salvo of Support fire from fleets deployed on [[Expedition#Support_Expeditions|Support Expeditions]]. The type of supporting fire depends on the composition of the expedition fleet. |
*In [[World 5]] and Event Maps, the Sortie fleet can receive a salvo of Support fire from fleets deployed on [[Expedition#Support_Expeditions|Support Expeditions]]. The type of supporting fire depends on the composition of the expedition fleet. |
||
| − | ===Opening Torpedo |
+ | ===Opening Torpedo Salvo=== |
| − | *The Opening Torpedo Salvo is fired by |
+ | *The Opening Torpedo Salvo is fired by submarines over level 10, ships with the {{Template:TorpedoWeapon}}[[Type A Ko-hyoteki]] ([[:Category:Torpedo Cruisers|CLTs]], [[:Category:Seaplane Tenders|AVs]], [[::Category:Submarines|SS]], [http://kancolle.wikia.com/wiki/Abukuma Abukuma Kai Ni]) equipped, and the Enemy [[Battleship Re-Class]]. |
**Torpedoes are fired from all ships simultaneously, and accuracy is affected by the selected Formation type. |
**Torpedoes are fired from all ships simultaneously, and accuracy is affected by the selected Formation type. |
||
**Unlike in the Closing Torpedo phase, moderately damaged ships can still launch torpedoes. |
**Unlike in the Closing Torpedo phase, moderately damaged ships can still launch torpedoes. |
||
*The Opening stages finish with the display of the Engagement form, the orientation of the two fleets. |
*The Opening stages finish with the display of the Engagement form, the orientation of the two fleets. |
||
| − | |||
===Engagement Form Modifier=== |
===Engagement Form Modifier=== |
||
Revision as of 13:32, 17 January 2016
Combat Stages
For most combat engagements, the battle will begin in day combat and follow the following set of stages. Several stages will not occur unless certain conditions are met. For Event maps, a Combined Fleet mechanic has been implemented which follows a modified combat order.
Aerial Combat nodes will have two Aerial Combat stages but no other stages.
Night Battle nodes would start battle with Night Combat phase. Very occasionally a few of those node can then enter Day Combat phase if certain criteria are met.
| Stage | Notes |
|---|---|
| Formation Selection | With 4 or more ships in a fleet, a fleet formation must be selected before combat. The selected formation affects ship damage, hit rate, and defense. |
| Detection | Requires planes or high detection stat (usually from RADAR). Success increases accuracy and evasion. Failure prevents participation of allied planes in the aerial combat phase. |
| Aerial Combat | Participants: CVLs, CVs, BBVs, CAVs, AVs, SSVs
Requires any type of offensive plane (torpedo bombers and dive bombers for CVLs and CVs, and seaplane bombers for BBVs, CAVs, AVs, and SSVs) equipped as equipment on either side. |
| Opening Stages |
Expedition Supporting Fire Supporting Fire from Sortie Support Expeditions. This has an aspect of randomness and may not trigger. Opening Torpedo Salvo Participants: [[::Category:Submarines|SS]] over level 10, ships equipped with Engagement Form The orientation of the allied and enemy fleets is displayed. This affects both fleets equally. |
| Day Combat |
Shelling, 1st Round (Range Order) Participants: All ships except SS. Firing order alternates between allied and enemy sides starting with allied. For each side, ships with higher range have priority. The firing order is composed of only ships that are able to take part and is set at the start of each shelling phase. Any ships sunk or incapacitated before their turn results in a lost turn for the side it is on. Shelling, 2nd Round (Lineup Order) Participants: All ships except SS. Firing order alternates between sides, prioritizing ships at the top of the list. Only occurs when either side has a BB, BBV, or the enemy has one of the special ship classes (鬼 Oni/Ogress, 姫 Hime/Princess) which acts like a BB/BBV: Destroyer Princess (駆逐棲姫) does not, while Battleship Princess (戦艦棲姫) does. The distinction between Bosses that do and those that do not trigger this phase is not always clear from their names. Closing Torpedo Salvo Participants: DDs, CLs, CLTs, CAs, CAVs, SS, AVs, Bismarck drei, Battleship Re-Class Like the opening torpedo salvo, all participants attack simultaneously. |
| Night Combat | Participants: All ships except CVLs and CVs (with the exception of Graf Zeppelin).
Enemy Standard Carrier Wo-Class and Light Carrier Nu-Class of flagship level or higher can attack at night. Must not be critically damaged to participate. The first slot allied ship attacks, then the first slot enemy ship attacks, and so on. Similar to shelling phase, if a ship is sunk or critically damaged, the game will skip its turn. |
Formation Selection
With 4 or more ships in a fleet, a fleet formation must be selected before combat. The selected formation affects ship damage and hit rate.
Formation Modifier
| Formation | Formation Icon | Surface Damage Modifier | Anti-sub Damage Modifier | Night Battle Modifier | Anti-air Modifier | Day Shelling Hit Rate | Anti-sub Hit Rate | Day Torpedo Hit Rate | Night Battle Hit Rate[1] | Torpedo Evasion Rate | Flagship Protection Rate |
|---|---|---|---|---|---|---|---|---|---|---|---|
| Line Ahead 単縦陣? |
100% | 60% | 100% | 77% | Medium | Low | High | High | Medium? | Low | |
| Double Line 複縦陣? |
80% | 80% | 100% | 91% | High | Medium | Medium | Medium | Medium? | Medium | |
| Diamond 輪形陣? |
70% | 120% | 100%? | 120% | Medium | Medium | Very Low | Low | Low? | High | |
| Echelon 梯形陣? |
60% | 100% | 100% | 77% | High | ? | Low | Low | Low | High | |
| Line Abreast 単横陣? |
60% | 130% | 100% | 77% | High | High | Very Low | Medium | High? | Medium |
- The surface damage modifier applies to both shelling and torpedo attacks, but does not affect Aerial Combat or Anti-Submarine attacks.
- Evasion modifier only applies to the daytime shelling phase, and not to air or torpedo attacks and night battles.
- Diamond Formation is only selectable as a formation with 5+ ships.
- Flagship protection is the situation where a non-flagship ship protects the flagship from being damaged by receiving the attack instead.
- Line Ahead has the highest offensive power for surface combat. It is the default choice for encounters after the 3rd battle node to preserve firepower because of the remaining ammo penalty.
- Line Ahead formation is also the default when there are less than four ships in the players' fleet.
- Double Line is generally a good formation for heavy BB/CV fleets. There is a significant accuracy increase that benefits the typically lower accuracy carriers, while BB often still have enough firepower.
- Diamond has the best anti-air modifier and flagship protection, and is almost as good as Line Abreast for anti-sub purposes. A good alternative to Line Abreast when facing mixed surface-sub fleets.
- Diamond formation is only available when the players' fleet has at least five or more ships.
- Echelon has not been tested extensively, but it is hypothesized to be a defensive formation for submarines; subs profit from the slightly heightened torpedo accuracy when compared to Diamond and Line Abreast, both common defensive formations.
- Line Abreast is the best formation for anti-sub purposes. It has also been shown to increase evasion rates, mostly against an enemy fleet which is in Double Line.
Detection
| Success | Failed |
|---|---|

|
|
| Effects | |
| Failure prevents participation of allied planes in the Aerial Combat Phase. | |
| Fleet LOS affects Detection rate. | |
Scout plane can be lost in this stage if there is a lack of LOS, disabling Artillery Spotting. If there are no more recon planes in that slot of the ship who sent the scout, the plane's rank will be reset.
Despite the animation show detection affect Accuracy and Evasion, some claim that it is not the actual case[citation needed], though it is too difficult to test.
Aerial Combat
- Main article: Aerial Combat
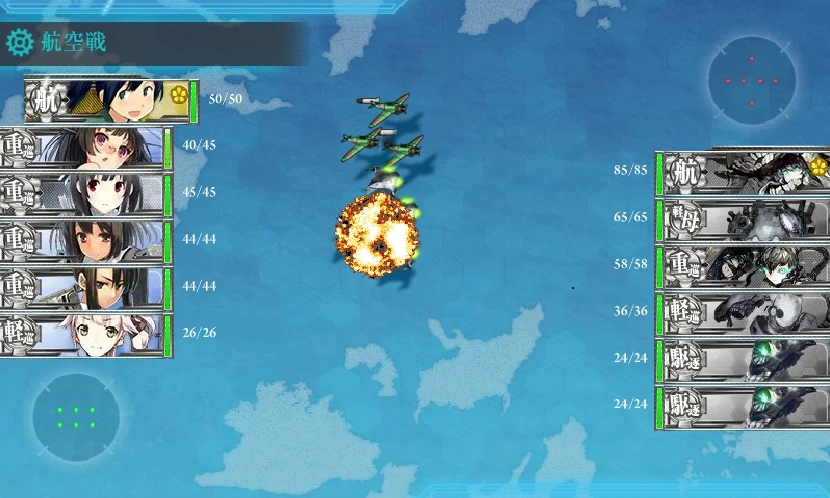
Aerial combat is a phase where both friendly fleet and opponents send their planes out at the same time, shoot down each others' planes, determine air control status and contact, then both fleets start their anti-air defense against bombers and remaining bombers would then launch attack on enemy ships. See Aerial Combat page for details.
Opening Stages
The Opening Stages of combat proceed in order with the Supporting Expedition effect, the Opening Torpedo salvo, then the display of the engagement form
Support Expedition
- In World 5 and Event Maps, the Sortie fleet can receive a salvo of Support fire from fleets deployed on Support Expeditions. The type of supporting fire depends on the composition of the expedition fleet.
Opening Torpedo Salvo
- The Opening Torpedo Salvo is fired by submarines over level 10, ships with the
 Type A Ko-hyoteki (CLTs, AVs, [[::Category:Submarines|SS]], Abukuma Kai Ni) equipped, and the Enemy Battleship Re-Class.
- Torpedoes are fired from all ships simultaneously, and accuracy is affected by the selected Formation type.
- Unlike in the Closing Torpedo phase, moderately damaged ships can still launch torpedoes.
- The Opening stages finish with the display of the Engagement form, the orientation of the two fleets.
Engagement Form Modifier
| Form | Damage Modifier | Chance | Chance with Saiun | Combat Screens |
|---|---|---|---|---|
| Crossing the T (Advantage) T字戦有利 (T Ji-sen Yuuri?) |
120% | 15% | 15% | 
|
| Parallel Engagement 同航戦 (Doukousen?) |
100% | 45% | 45% | 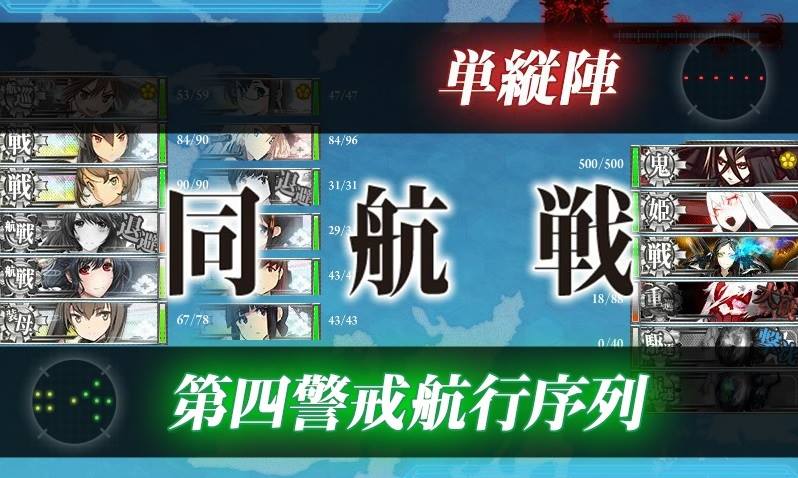
|
| Head-on Engagement 反航戦 (Hankousen?) |
80% | 30% | 40% | 
|
| Crossing the T (Disadvantage) T字戦不利 (T Ji-sen Furi?) |
60% | 10% | 0% | 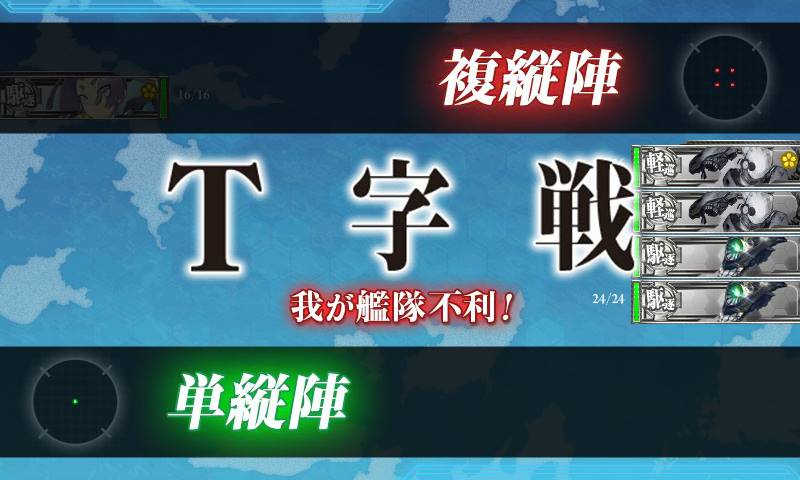
|
- Please note that all engagement forms affect both sides equally, including crossing the T (Advantage or Disadvantage).
- Night battle and aerial combat are not affected by engagement forms. Torpedo salvos are affected by engagement forms.
- Equipping a Saiun effectively makes what would have been Crossing the T (Disadvantage) become Head-on Engagement.
- It is speculated that the Engagement form also impacts accuracy.
Day Combat
- Day Combat consists of up to 3 phases: 1st Shelling, 2nd Shelling, Closing Torpedo
- CVLs and CVs must be in good or lightly damaged condition in order to participate in shelling phases, with the exception of Armored Aircraft Carriers (e.g. Taihou, Shoukaku Kai Ni A and Zuikaku Kai Ni A) who can still attack while moderately damaged. More than zero non-fighter-plane equipment is also mandatory. Note that LHA is not restricted by this.
First Shelling Phase
- During the first shelling stage, the order of fire is determined by the ship's maximum range.
- Ships are arranged in order from Very Long → Long → Medium → Short → Very Short range.
- The shelling order alternates from allied ships to enemy ships if able. If two ships on the same side have the same range, the ship that attacks first from between them is chosen randomly.
Second Shelling Phase
- The second shelling phase moves from the top to the bottom of the combat line.
- Ships unable to attack at all in the shelling phase (i.e. submarines) will be skipped, but those normally able to attack but rendered unable to (e.g. damaged carriers) will still take actionless turns.
Closing Torpedo
- The Closing Torpedo salvo is fired by all SS(V), DD, CL(T), CA(V), AV, Bismarck drei, and the enemy Battleship Re-Class.
- Torpedoes are fired from all ships simultaneously, and accuracy is affected by the selected Formation type.
- Ships must not be moderately or heavily damaged to participate.
Night Combat
- Night battle damage depends on both the Firepower and Torpedo stats for attack power. Consequently, DDs, CLs, CLTs and CAs have drastically increased strength at night.
- Any vessel at night must not be heavily damaged (red) before attacking in order to participate in night battle.
- Certain combinations of weapon equipment (Main Guns, Secondary Guns, Torpedoes) will cause Cut-In or Double Attacks at night, greatly increasing accuracy and/or firepower
- Ship with high luck has higher chance to initiate cut-in (this does not apply to CV(L) as they can't attack at night). Therefore, it is recommended to equip such ships (e.g. Shigure, Ayanami, Yukikaze, Kitakami) with torpedo cut-in setup. See Equipment Guide for setup.
- Auxiliary equipment (e.g RADAR, SONAR, Depth Charges, Searchlights, Turbines, Special ammunition, Pure AA Equipment, Torpedo Bulges, and Midget-subs) will not affect the combination.
- If night combat nodes are anticipated, it can be very helpful to utilize specialized night battle equipment such as Star Shells and Searchlight. Type 98 Recon Seaplane (Night Scout) is also an option.
- Evasion of submarines are greatly increased in regular Night Battles, so they cannot take more than scratch damage. In battles starting at night and Combined Fleet sorties, submarines do not get the Evasion boost, so they will take damage as normal.
- Formation damage modifiers and Engagement Form damage modifiers do not apply in Night Battle (i.e. they are always 100%).
- As an exception, in nodes that begin with Night Battle and in Combined Fleet Night Battle, Formation and Engagement Form anti-sub damage modifiers apply.
- The Engagement Form is not explicitly shown in Night Battle nodes.
- As an exception, in nodes that begin with Night Battle and in Combined Fleet Night Battle, Formation and Engagement Form anti-sub damage modifiers apply.
- The animation for ships equipped with 2 different torpedoes may be different but the damage output is still the same.
- A Prototype FaT Type 95 Oxygen Torpedo Kai + 61cm Quint (Oxygen) Torpedo Mount will show a cut-in animation of FaT+Quint+Quint and if equipped the other way around, the cut-in animation will show Quint+FaT+FaT. However, both animation produces the same damage output.
Damage Calculations
- Main article: Damage Calculation
Main Formula
| Damage = | x Pre-Cap Modifiers |
x | - | - | (between 0 and (Enemy Armor - 1)) | ||
|---|---|---|---|---|---|---|---|
| x | |||||||
Notes:
| |||||||
Basic Attack Power
The Basic Attack Power's formula vary under different case, see Basic Attack Power section on Damage Calculation page for details.
Pre-Cap Modifiers
These are the factors directly applied to your ship's attack power.
- Anti-Installation Attack Modifier
- Formation Modifier (see "Damage modifier")
- Engagement Modifier
- Health Modifier
- Plane Scaling (Opening air strike only)
- Night Special Attack Modifier
- Light Cruiser Fit Bonus
Effects from the modifiers are multiplied cumulatively.
Attack Power Cap
There is a soft cap of 150 in Day Battle, 300 in Night Battle, and 100 in ASW battle. Read this link for details.
Post-Cap Modifiers
In damage calculation, Post-cap modifiers apply after the cap, but before enemy armor reduction. Thus they are very effective approach to boost your damage output (esp. against heavy armor enemies).
Currently, the post-cap modifiers are from:
- Artillery Spotting (aka. Day time special attacks)
- Critical Damage
- Contact (Opening air strike)
- AP Shell (against certain targets)
- Aircraft Proficiency
Remaining Ammo Modifier
Remaining ammo of your ship affect their attack power, see Damage_Calculation#Remaining Ammo Modifier for details.
Player Ship Protection Mechanisms
While the above formulas and statements are generally true for damage taken by a player's ships, there are additional limits that apply to friendly units only. These protection mechanisms are important for game balance and to protect your fleet from sinking.
- For ships entering battle at chuuha (orange) or higher HP:
- Damage taken cannot reduce HP below 1.
- Any further hits will become misses.
- For flagships, as well as ships with 20 morale or more (i.e. not red face):
- If damage taken exceeds a ship's current HP, then instead of taking full damage, the damage of the current attack is limited to 50%-79% (rounded down) of current HP.
- For multi-hit attacks, such as night battle torpedo cut-in attacks, each hit is calculated separately.
- This can occasionally help ships avoid taiha (red HP), because it narrows the range of damage where it is possible to be hit into taiha.
- For ships with at full hp and an odd hp total, it is occasionally possible to stop damage at lightly damaged.
- If damage taken exceeds a ship's current HP, then instead of taking full damage, the damage of the current attack is limited to 50%-79% (rounded down) of current HP.
- Damage taken cannot reduce HP below 1.
Accuracy and Evasion
- Main article: Accuracy and Evasion
There are still many things unknown about Accuracy and Evasion, but all the known factors that might affect them have been listed in the Accuracy and Evasion page.
Combat Equipment Setup
- Main article: Equipment Guide
- Anti-Air Cut-in (AACI)
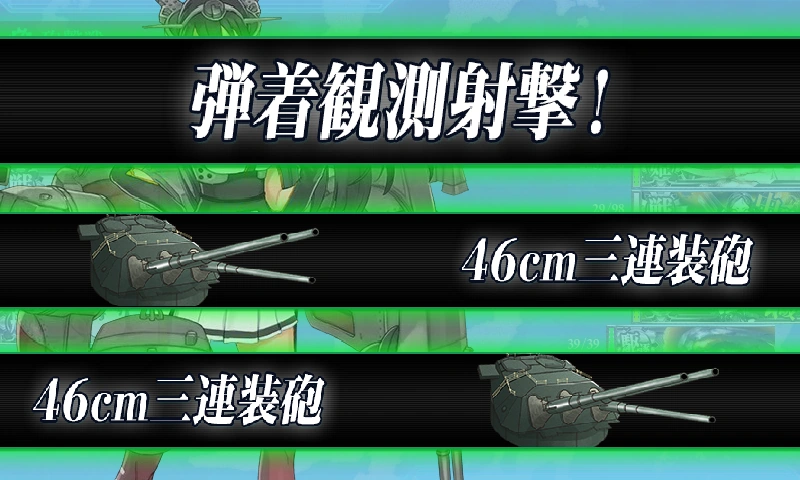
- Day Battle Special Attacks (Artillery Spotting)
- Night Battle Special Attacks
- Common Setups
- Full Setup List
Anti-Air Cut-in
| Anti-Air Cut-In |
|---|
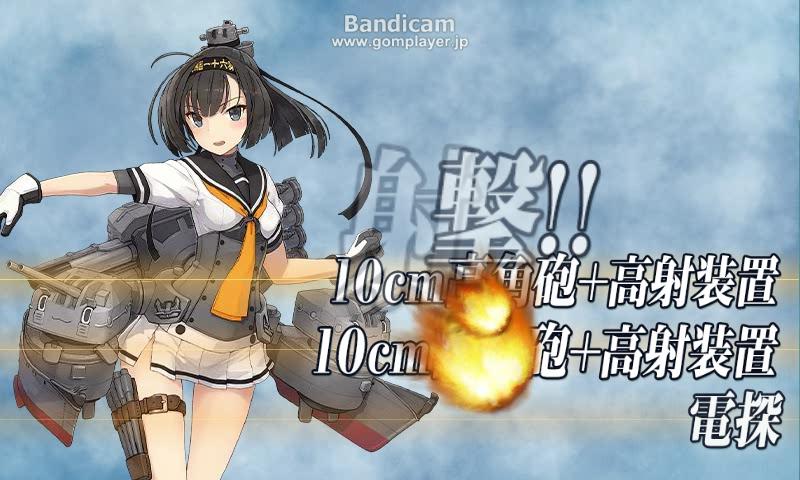  An Anti-Air Cut-In with Akizuki (Type H.H.R*, api_1) Requirement:One of the following sets:
Effect:
Trigger Chance:
|
Special Attacks
Day Battle Special Attacks (Artillery Spotting)
- Main article: Artillery Spotting
| Artillery Spotting | |||||||||||||||||||||||||||||||||||||||||||||
|---|---|---|---|---|---|---|---|---|---|---|---|---|---|---|---|---|---|---|---|---|---|---|---|---|---|---|---|---|---|---|---|---|---|---|---|---|---|---|---|---|---|---|---|---|---|
Artillery spotting allows your ship with seaplanes to double attack (DA) and cut-in (CI) during day battle.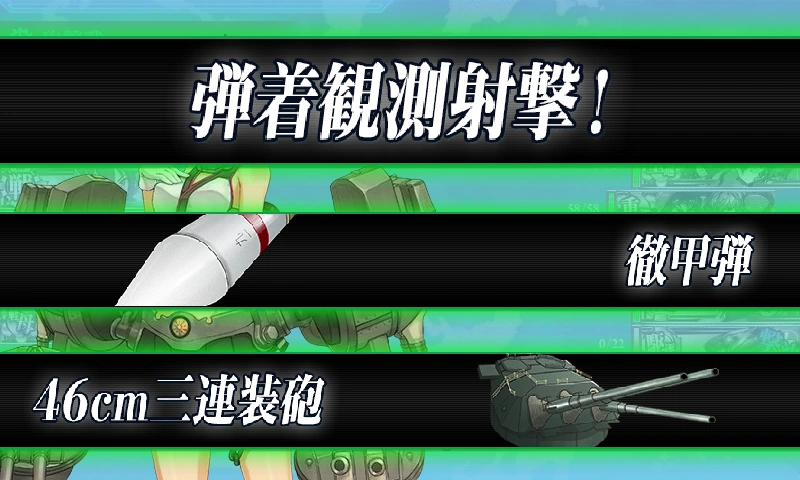  Cut-in Type Observed Fire using 1Main 1Sec & Type 91 AP shell Requirement
Set up and Attack ModesDifferent set ups provide chances to trigger various modes of attack.
Trigger Chance of Artillery Spotting
|
Night Battle Special Attacks
| Night Battle Cut-In/Double Attack | |||||||||||||||||||||||||||||||||||||||||||||||||||||||||||||||||||||||||||||||
|---|---|---|---|---|---|---|---|---|---|---|---|---|---|---|---|---|---|---|---|---|---|---|---|---|---|---|---|---|---|---|---|---|---|---|---|---|---|---|---|---|---|---|---|---|---|---|---|---|---|---|---|---|---|---|---|---|---|---|---|---|---|---|---|---|---|---|---|---|---|---|---|---|---|---|---|---|---|---|---|
|
Night battle special attacks allow your ship to double attack (DA) and cut-in (CI) at night. Compared to artillery spotting, these special attacks are less demanding on equipment setups, and give different bonuses. Note that it is important to realize the differences between the two types of special attack and know when to use which. Requirements
Setups and Attack TypesDifferent setups have chances to trigger different modes of attack. Attack modes are ONLY determined by the prerequisites. Also, feel free to add any auxiliary equipment (AP shell
Night Double Attack ChanceHas a very high (~99%) and relatively consistent activation chance (source). Activation rate is not dependent on luck. This typically results in more consistent and higher average damage than cut-in setup for ships with normal luck values. Night Cut-in chance:It is currently known that Night Cut-in chance is affected by the type of cut-in attack used, luck, health, flagship position, Searchlight activation, Star Shell activation, and Skilled Lookouts. Note that there is a cap for luck on cut-in chance.
|

Anti-Sub Warfare
Any enemy submarines will force Destroyers, Light Cruisers, Torpedo Cruisers, Training Cruisiers and Hayasui to target them. It also applies to Aviation Heavy Cruisers, Aviation Battleships, Seaplane Tender, Light Carrier and Akitsumaru equipped with seaplane bombers, Ka-type Observation Autogyro or Type 3 Spotter/Liaison (ASW). Cut-In and Double Attacks are ignored. In normal Night Battles, ASW damage is scratch damage only. In battles starting at night, Formation Modifiers apply.
Overweight Penalty
Since a certain update, using main guns larger than what's fit for the ship class would incur certain level of accuracy penalty, For instance, using 41cm or above guns on Kongou-class. More research needs to be done to show to actual effect.[4]
Land-base Boss
- Main article: Installation Type
Land-base bosses, also known as installation-type bosses, have a number of special properties:
- Land-base bosses cannot be targeted by torpedoes in day battle.
- Carriers with dive bombers equipped cannot target these enemies.
- In night battle, only the firepower portion of the (firepower + torpedo) attack power formula will be counted.
- Type 3 Shells give bonus damage against them, and are regarded as the main counter against the high armor these enemies often possess. The damage formula is Firepower × 2.5.
- WG42 also gives a damage bonus, a flat +75 damage applied to firepower before modifiers & cap but after Type 3 Shell.
- Instead of the usual lightly damaged (小破), moderately damaged (中破), heavily damaged (大破) and sunk (轟沈) indications, there is instead disordered (混乱), damaged (損害), destroyed (損壊) and demolished (破壊). Functionally, the two series of damage indications are equivalent.
Setup
Common Setups
- Common ship equipment setups for different ship type and their purpose
| Common Setup |
|---|
|
Full Setup List
- What follows is an extensive list of possible equipment setups related to Artillery Spotting and Night Battle attacks.
- Yellow: Cut-In or Double Attack Possible
Two Slots
| Equipment | Day Battle | Modifier | Night battle | Modifier | |||
|---|---|---|---|---|---|---|---|
| As no 2 slot setup can trigger special attacks during the day, 2 slot setups are primarily night combat focused. | |||||||
| - | - | Single Attack | 100% | Single Attack | 100% | ||
| - | - | Single Attack | 100% | Single Attack | 100% | ||
| - | - | Single Attack | 100% | Single Attack | 100% | ||
| - | - | Single Attack | 100% | Single Attack | 100% | ||
| - | - | Single Attack | 100% | Single Attack | 100% | ||
| - | - | Single Attack | 100% | Single Attack | 100% | ||
| - | - | Single Attack | 100% | Double Attack | 120% x 2 | ||
| - | - | Single Attack | 100% | Double Attack | 120% x 2 | ||
| - | - | Single Attack | 100% | Cut-In (Mixed) | 130% x 2 | ||
| - | - | Single Attack | 100% | Single Attack | 100% | ||
| - | - | Single Attack | 100% | Single Attack | 100% | ||
| - | - | Single Attack | 100% | Double Attack | 120% x 2 | ||
| - | - | Single Attack | 100% | Single Attack | 100% | ||
| - | - | Single Attack | 100% | Single Attack | 100% | ||
| - | - | Single Attack | 100% | Single Attack | 100% | ||
| - | - | Single Attack | 100% | Cut-In (Torpedo) | 150% x 2 | ||
| - | - | Single Attack | 100% | Single Attack | 100% | ||
| - | - | Single Attack | 100% | Single Attack | 100% | ||
| - | - | Single Attack | 100% | Single Attack | 100% | ||
| - | - | Single Attack | 100% | Single Attack | 100% | ||
| - | - | Single Attack | 100% | Single Attack | 100% | ||
Three Slots
| Equipment | Day Battle | Modifier | Night battle | Modifier | |||
|---|---|---|---|---|---|---|---|
| Day Combat Focus | |||||||
| - | Double Attack | 120% x 2 | Double Attack | 120% x 2 | |||
| - | Cut-In | 110% | Double Attack | 120% x 2 | |||
| - | Single Attack | 100% | Cut-In (Mixed) | 130% x 2 | |||
| - | Single Attack | 100% | Single Attack | 100% | |||
| - | Single Attack | 100% | Single Attack | 100% | |||
| - | Single Attack | 100% | Double Attack | 120% x 2 | |||
| - | Single Attack | 100% | Single Attack | 100% | |||
| - | Single Attack | 100% | Single Attack | 100% | |||
| - | Single Attack | 100% | Single Attack | 100% | |||
| - | Single Attack | 100% | Cut-In (Torpedo) | 150% x 2 | |||
| - | Single Attack | 100% | Single Attack | 100% | |||
| - | Single Attack | 100% | Single Attack | 100% | |||
| - | Single Attack | 100% | Single Attack | 100% | |||
| - | Single Attack | 100% | Single Attack | 100% | |||
| - | Single Attack | 100% | Single Attack | 100% | |||
| Night Combat Focus | |||||||
| For Night Combat setups, see Day Combat 4 slot setups below and ignore the seaplane. The Day attack will be a Single Attack at 100%. | |||||||
Four Slots
| Equipment | Day Battle | Modifier | Night battle | Modifier | |||
|---|---|---|---|---|---|---|---|
| Day Combat Focus | |||||||
| Double Attack | 120% x 2 | Cut-In (Gun) | 200% | ||||
| Double or Cut-In | 120% x 2 or 110% | Cut-In (Gun) | 175% | ||||
| Double Attack | 120% x 2 | Cut-In (Mixed) | 130% x 2 | ||||
| Double Attack | 120% x 2 | Double Attack | 120% x 2 | ||||
| Double or Cut-In | 120% x 2 or 150% | Double Attack | 120% x 2 | ||||
| Cut-In | 110% | Double Attack | 120% x 2 | ||||
| Cut-In | 110% | Cut-In (Mixed) | 130% x 2 | ||||
| Cut-In | 120% | Double Attack | 120% x 2 | ||||
| Cut-In | 130% | Double Attack | 120% x 2 | ||||
| Single Attack | 100% | Cut-In (Torpedo) | 150% x 2 | ||||
| Single Attack | 100% | Cut-In (Mixed) | 130% x 2 | ||||
| Single Attack | 100% | Cut-In (Mixed) | 130% x 2 | ||||
| Single Attack | 100% | Single Attack | 100% | ||||
| Single Attack | 100% | Single Attack | 100% | ||||
| Single Attack | 100% | Single Attack | 100% | ||||
| Single Attack | 100% | Double Attack | 120% x 2 | ||||
| Single Attack | 100% | Double Attack | 120% x 2 | ||||
| Single Attack | 100% | Double Attack | 120% x 2 | ||||
| Single Attack | 100% | Double Attack | 120% x 2 | ||||
| Single Attack | 100% | Cut-In (Torpedo) | 150% x 2 | ||||
| Single Attack | 100% | Cut-In (Torpedo) | 150% x 2 | ||||
| Single Attack | 100% | Cut-In (Torpedo) | 150% x 2 | ||||
| Single Attack | 100% | Cut-In (Torpedo) | 150% x 2 | ||||
| Night Combat Focus | |||||||
| Single Attack | 100% | Cut-In (Gun) | 200% | ||||
| Single Attack | 100% | Cut-In (Gun) | 200% | ||||
| Single Attack | 100% | Cut-In (Gun) | 200% | ||||
| Single Attack | 100% | Cut-In (Gun) | 175% | ||||
| Single Attack | 100% | Cut-In (Gun) | 175% | ||||
| Single Attack | 100% | Cut-In (Torpedo) | 150% x 2 | ||||
| Single Attack | 100% | Double Attack | 120% x 2 | ||||
| Single Attack | 100% | Cut-In (Mixed) | 130% x 2 | ||||
| Single Attack | 100% | Cut-In (Torpedo) | 150% x 2 | ||||
| Single Attack | 100% | Cut-In (Torpedo) | 150% x 2 | ||||
| Single Attack | 100% | Double Attack | 120% x 2 | ||||
| Single Attack | 100% | Double Attack | 120% x 2 | ||||
| Single Attack | 100% | Cut-In (Torpedo) | 150% x 2 | ||||
| Single Attack | 100% | Cut-In (Torpedo) | 150% x 2 | ||||
| Single Attack | 100% | Cut-In (Torpedo) | 150% x 2 | ||||
Template:VictoryConditions
Additional Explanation/Details
- ↑ Source: 艦これ-チラ裏検証- / 夜戦陣形と命中回避 (Jan 1, 2015). Click here for a translated version of the article. Currently the hit rates only apply on nodes starting with night battle (eg. 5-3-C). In addition, please be aware that given limited sample sizes from the exp't, the measured hit rates by using different formations are NOT differing on a large scale, thus using "higher / lower" not simply "high / low".
- ↑ Source: 半製造BSアレコレ雑記帳 / 「艦これ」砲撃命中率について・複縦陣 中間報告 (Dec 5, 2014). If more relevant sources are discovered please add them in.
- ↑ [1]
- ↑ User blog:Homuhomu123/Shelling Accuracy Test Results (Source to be cited)